WHATSAPP: Create a WhatsApp outbound campaign
Send an approved template message to a list of opt-in contacts; those who reply will restart a real conversation with your WhatsApp agent, not just send a blank message.
Written By Product
Last updated 3 months ago
Prerequisites
A linked WhatsApp Business number (Integrations → WhatsApp).
A template already approved by Meta: create it from Integrations → WhatsApp or directly while creating the campaign (see below). Approval isn’t instantaneous: prepare it in advance.
A WhatsApp agent who will handle responses based on the campaign’s purpose.
Step 1: Create the campaign
Campaigns → "New Campaign" → WhatsApp channel:
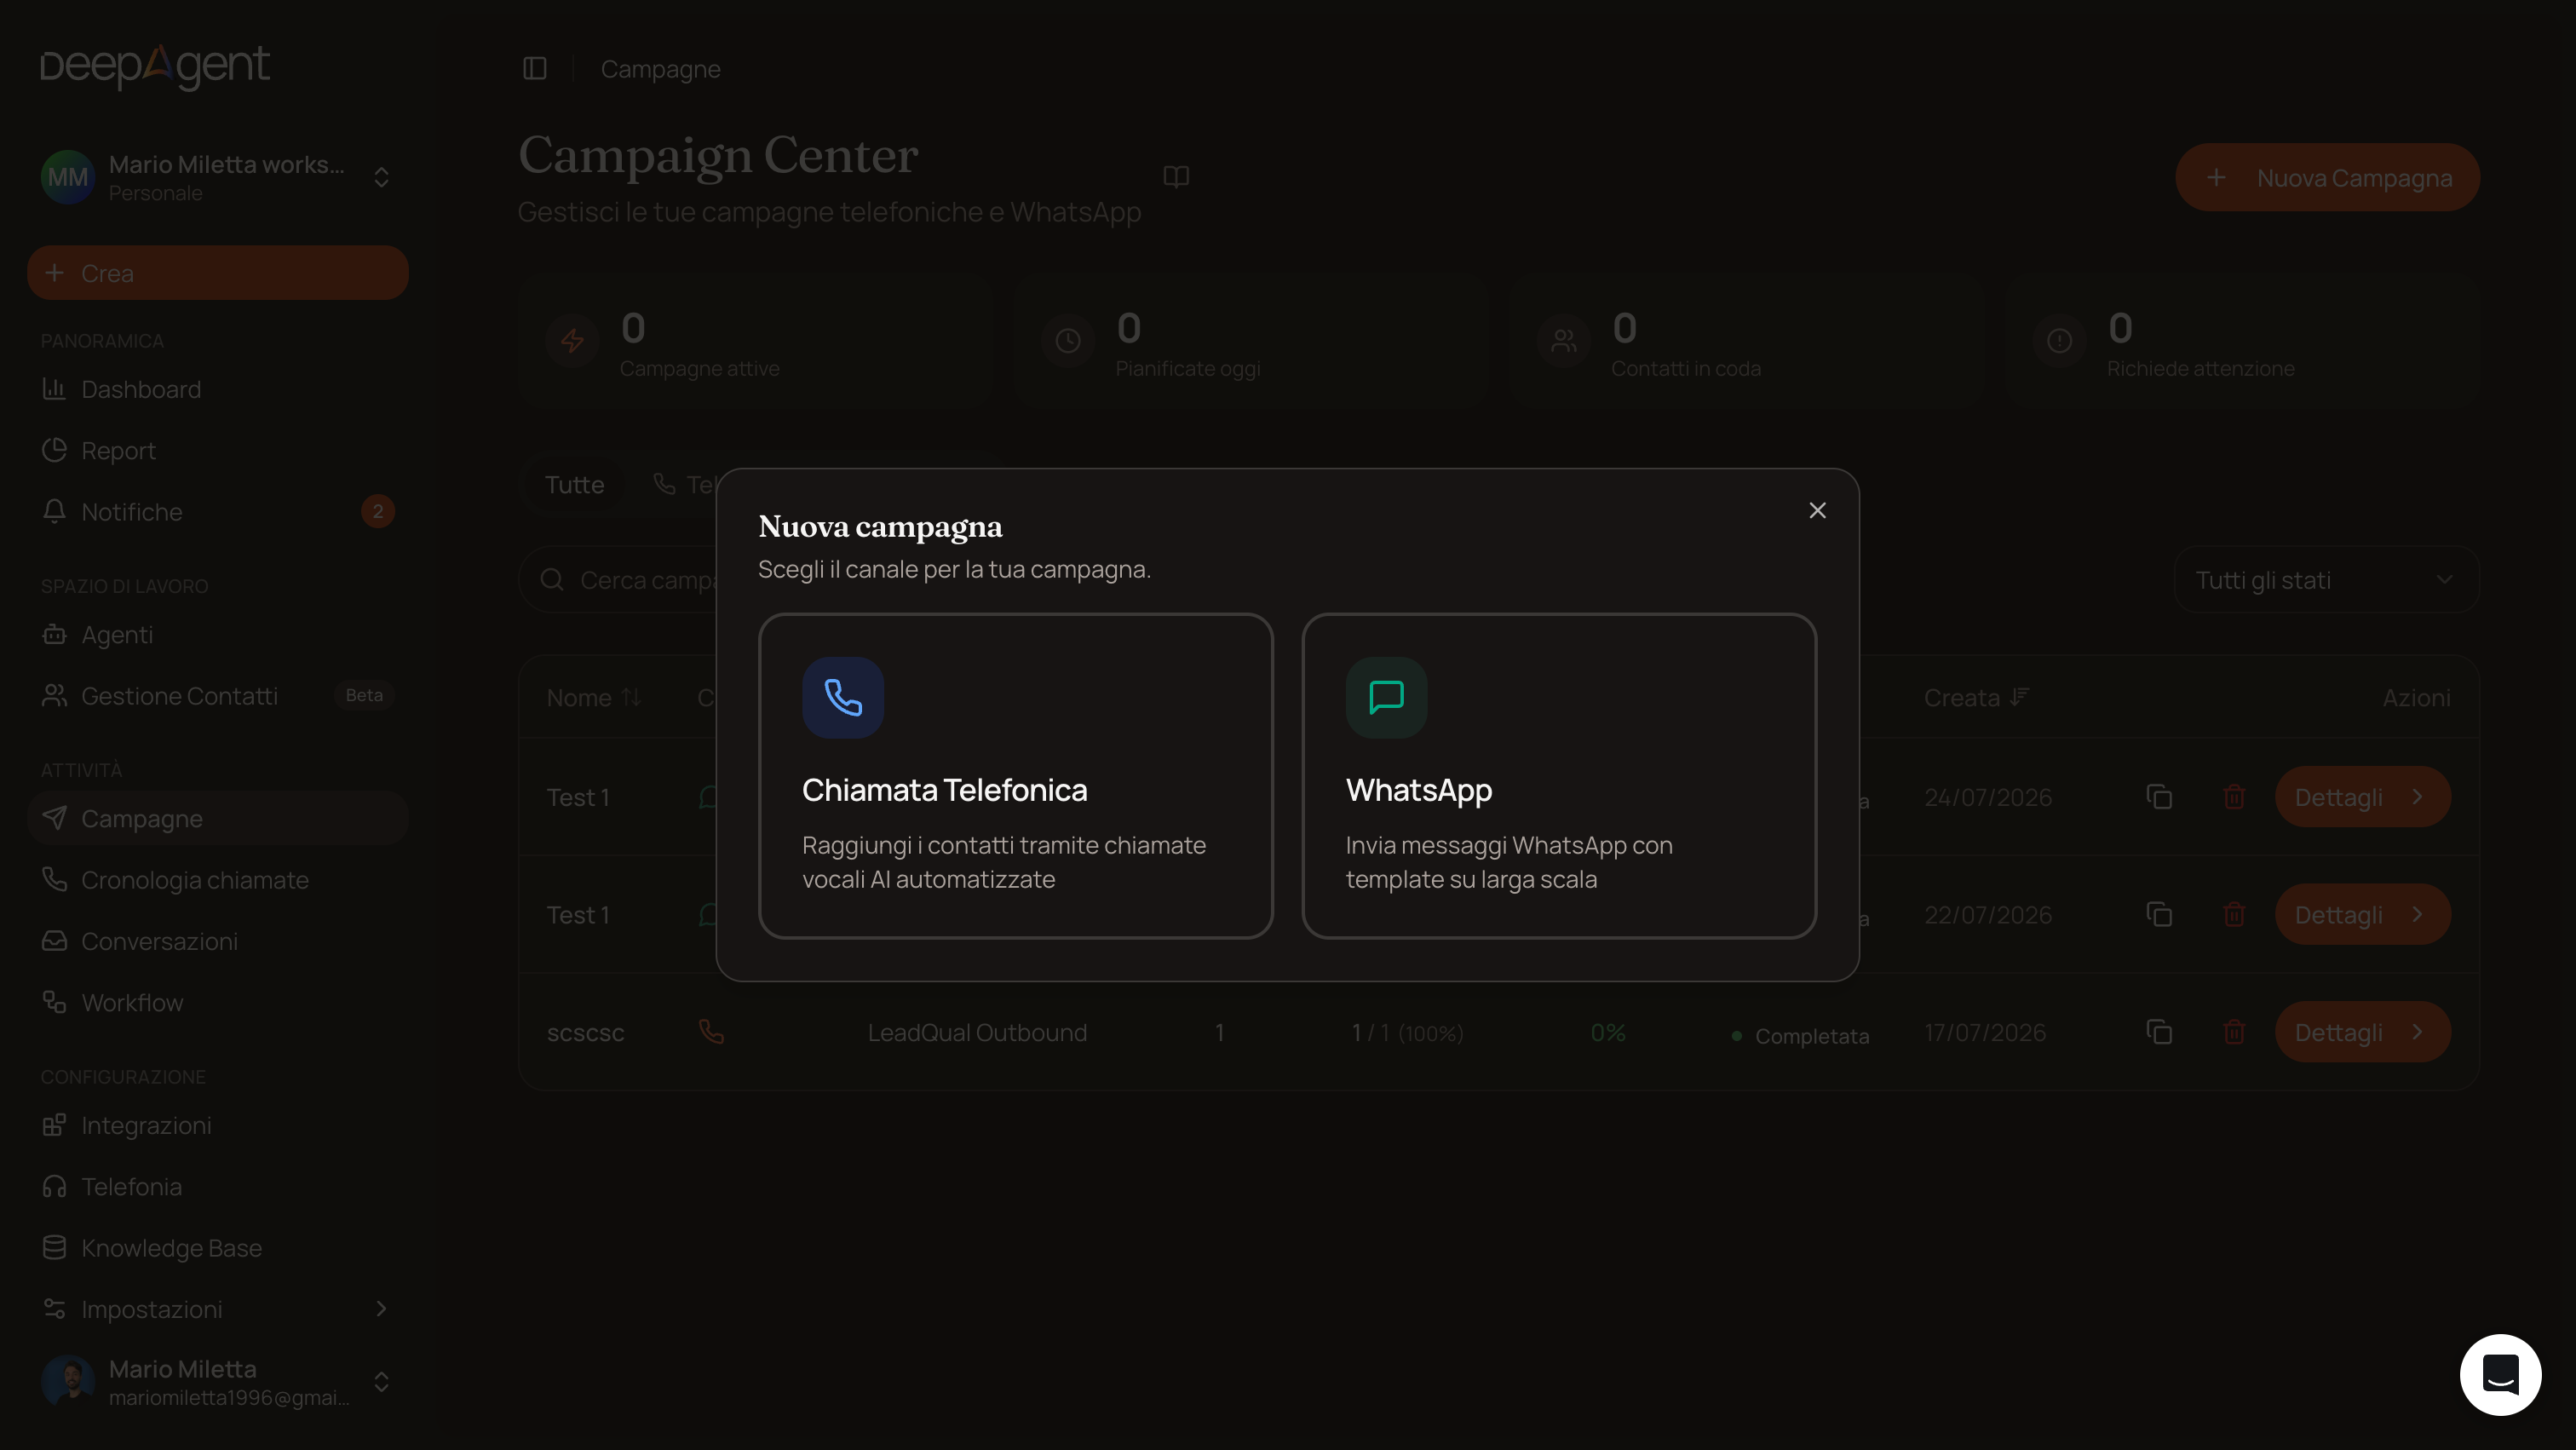
Campaign details: name, and select the WhatsApp agent who will handle responses (agents already published appear first).
WhatsApp message: The number is automatically populated with the one linked to the agent. Choose a template from those already approved by Meta (only these appear in the menu: a template awaiting approval cannot be selected). A phone-shaped preview shows you how it will look. If the template contains placeholders (
{{1}},{{2}}...), choose for each one whether it’s a static value or a contact field (e.g., the name, taken from the list). There are also agent variables to provide the agent with the campaign context when the customer responds.Messages per hour: a slider ranging from 10 to 200 controls the sending frequency.
After-hours rule: if a message would be sent outside the agent’s working hours, choose whether to delay it until the next time window or skip the contact.
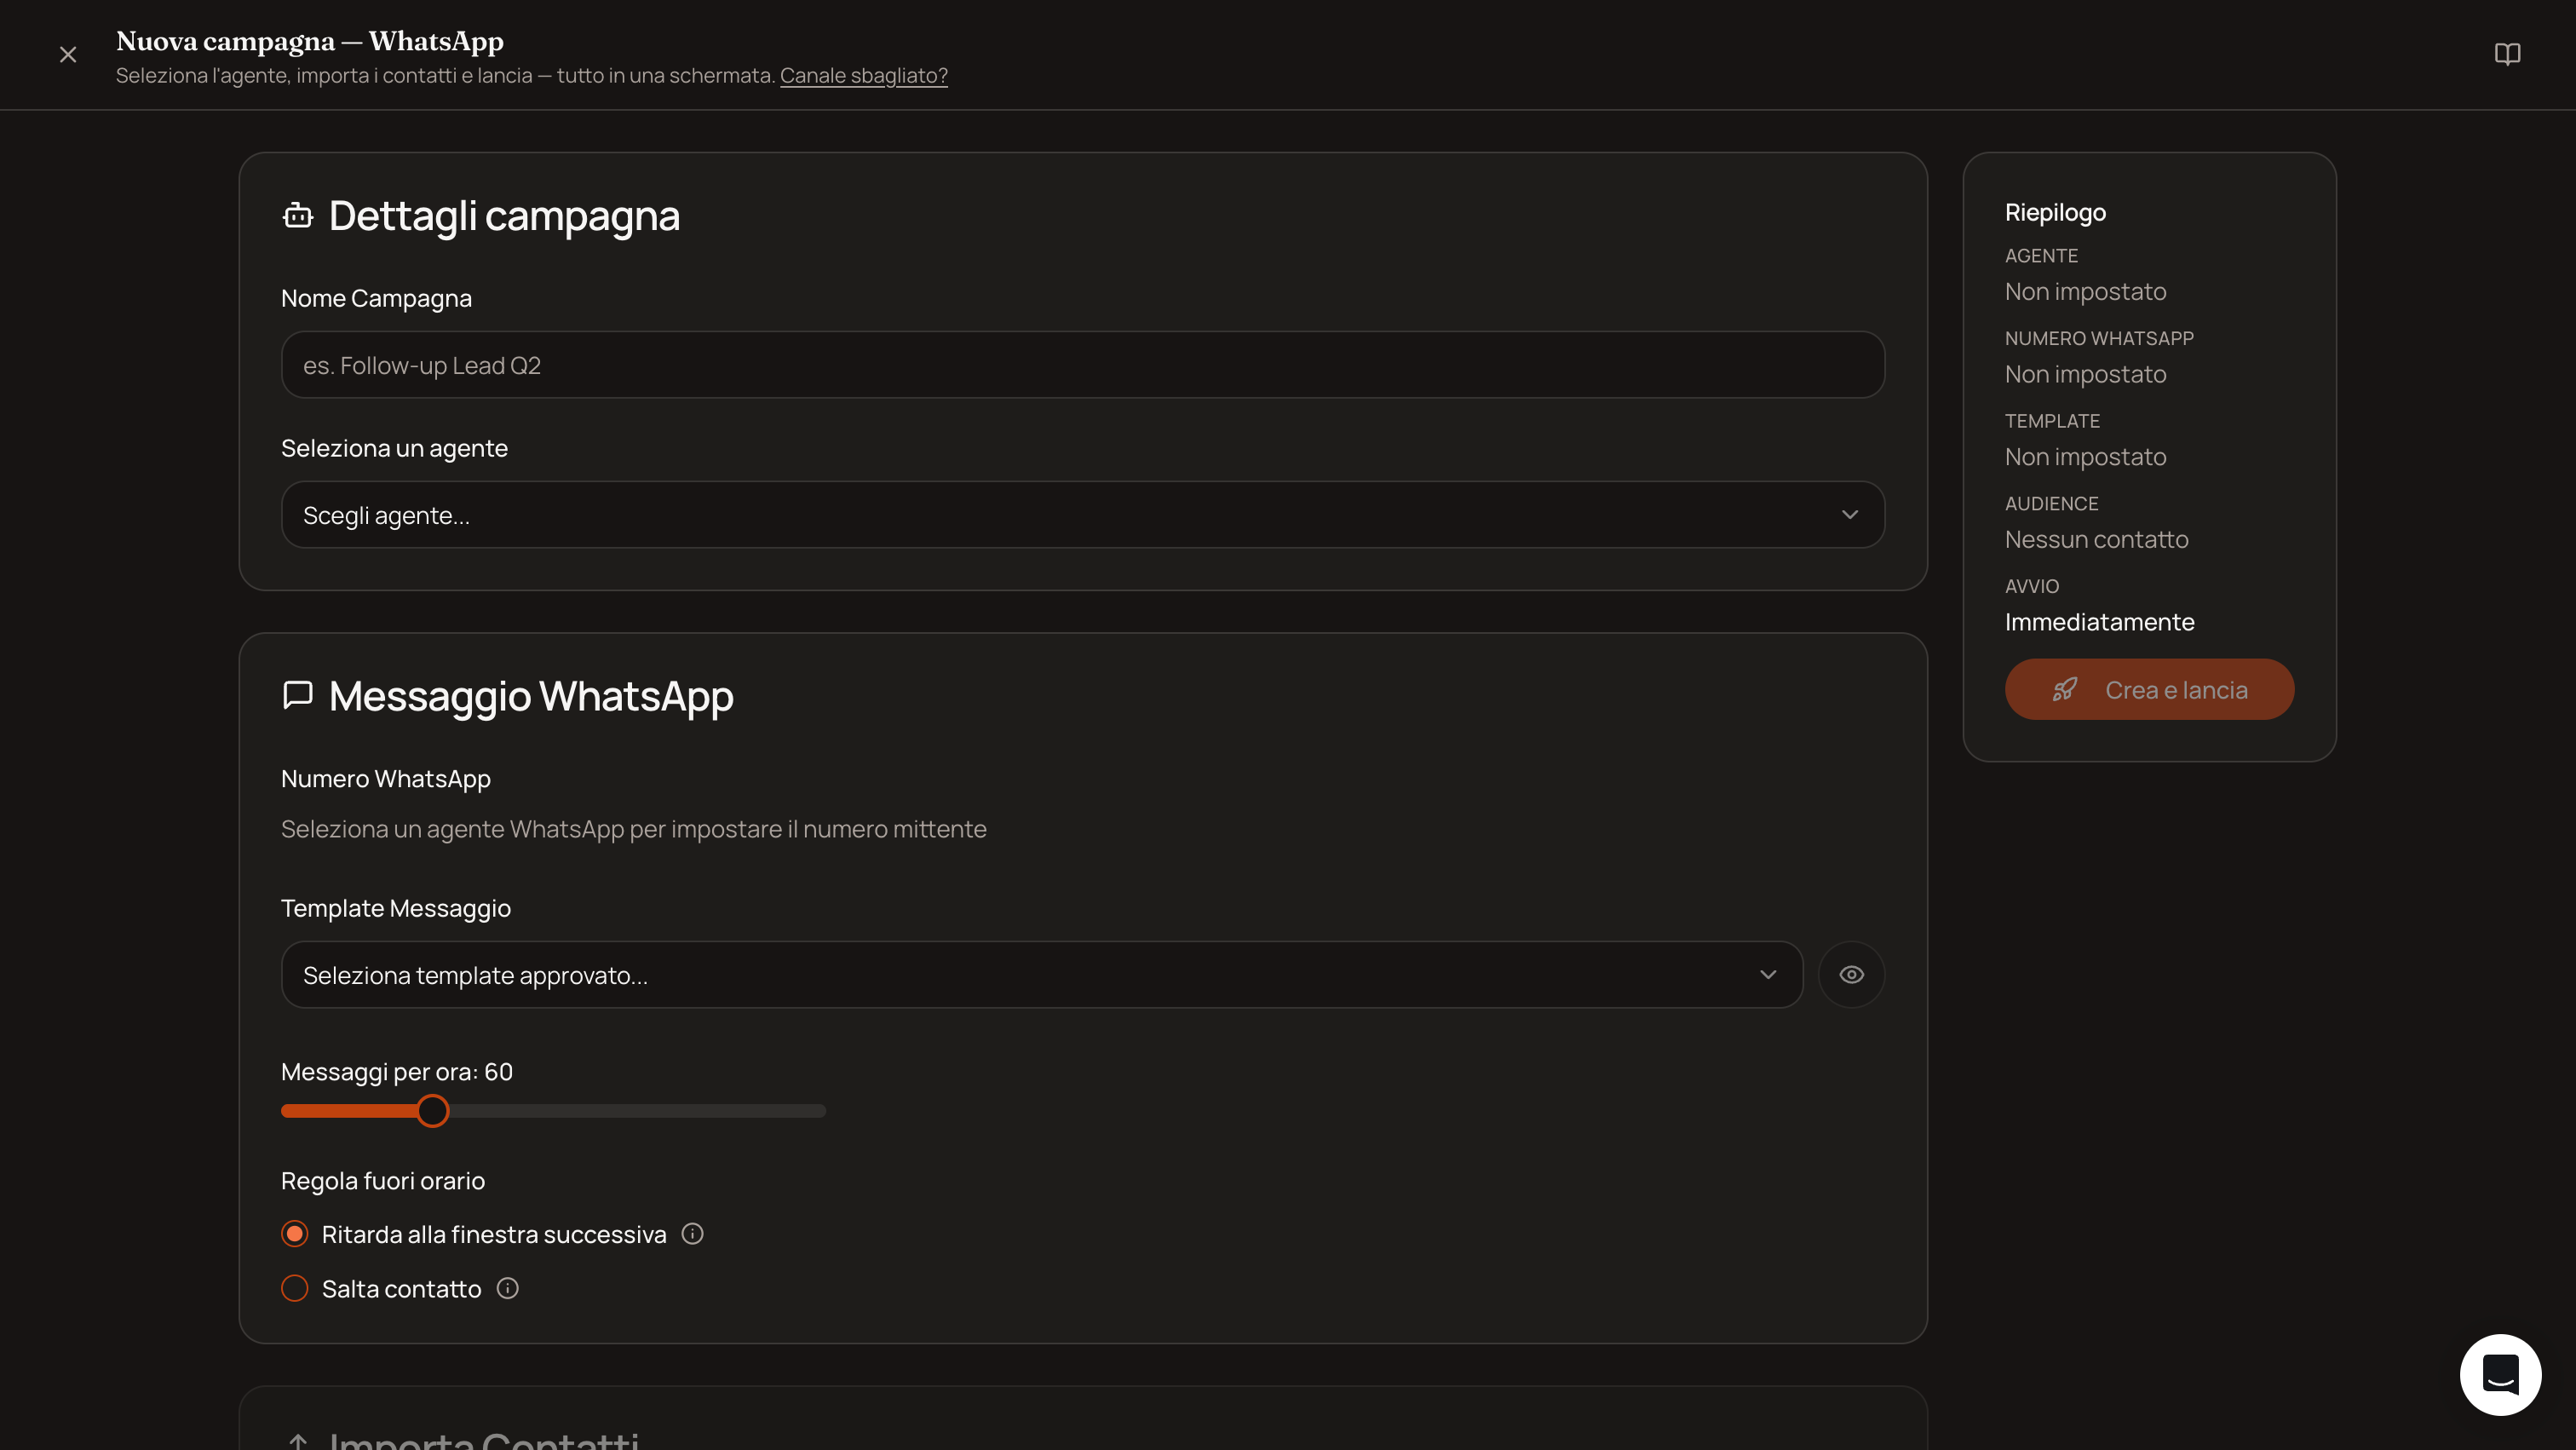
Import Contacts: CSV, Google Sheets, manual entry, or a list from the Contact Manager.
When to Launch: immediately or scheduled.
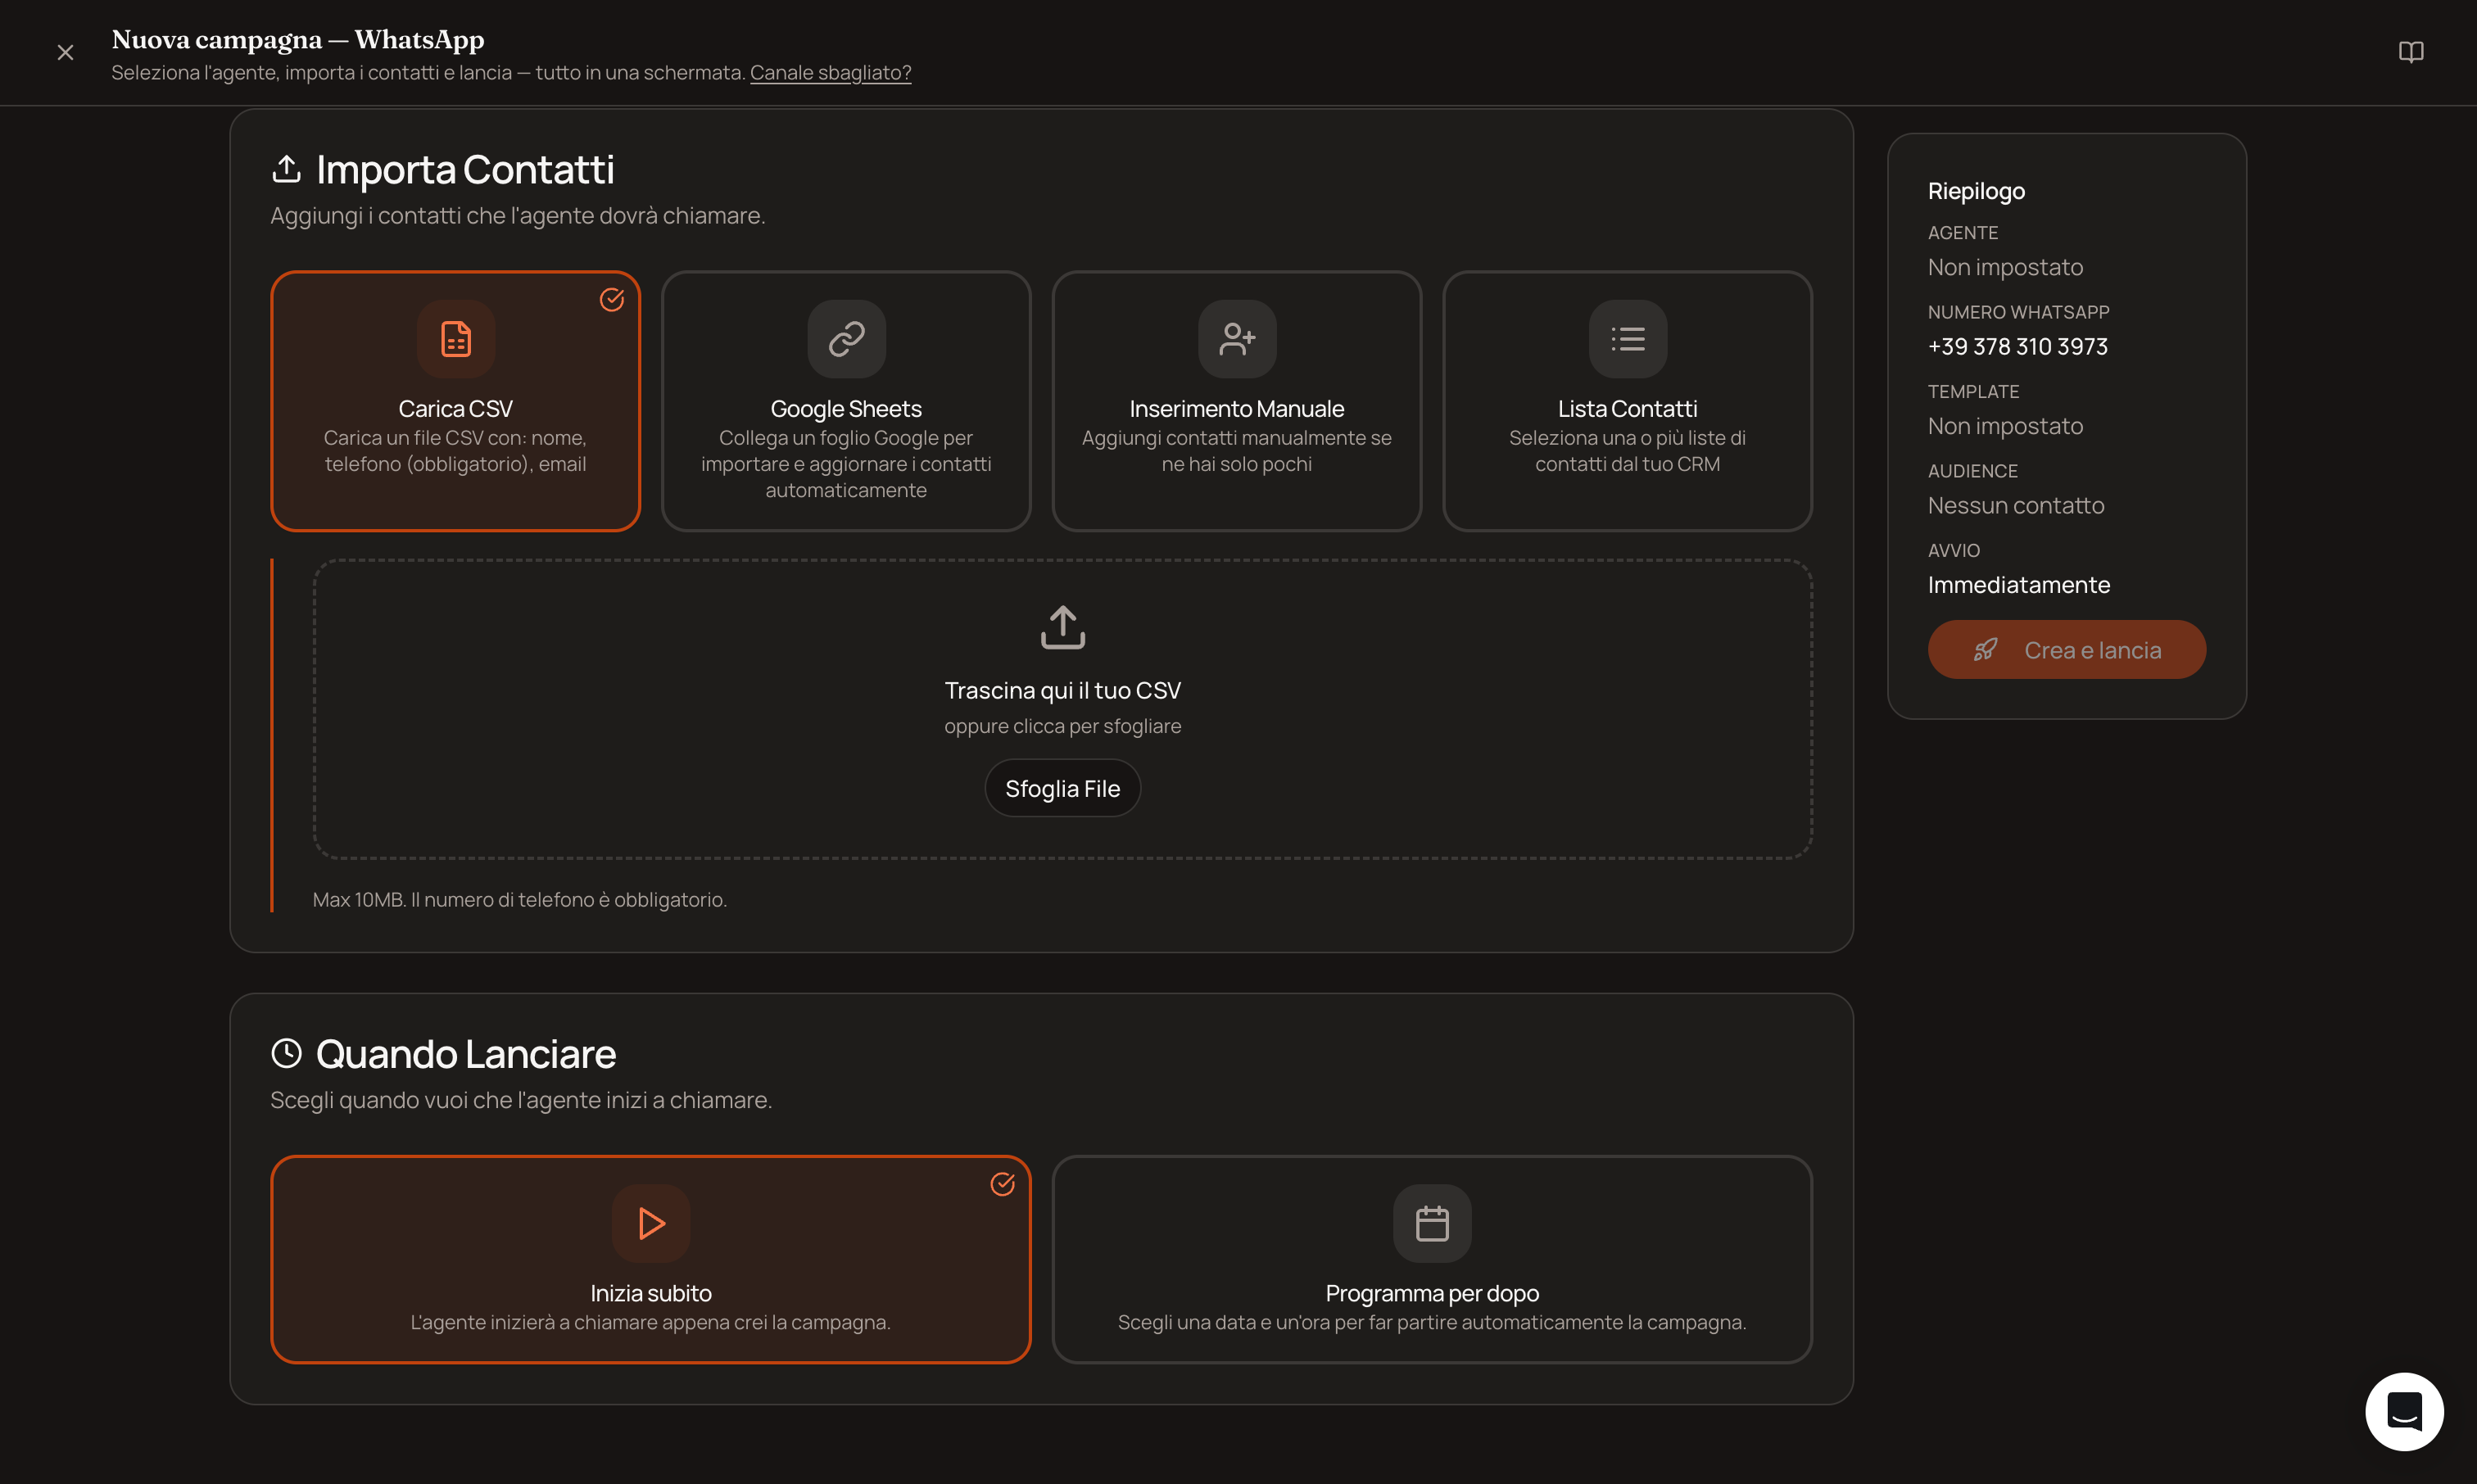
Click “Create and Launch.”
Step 2: Monitor
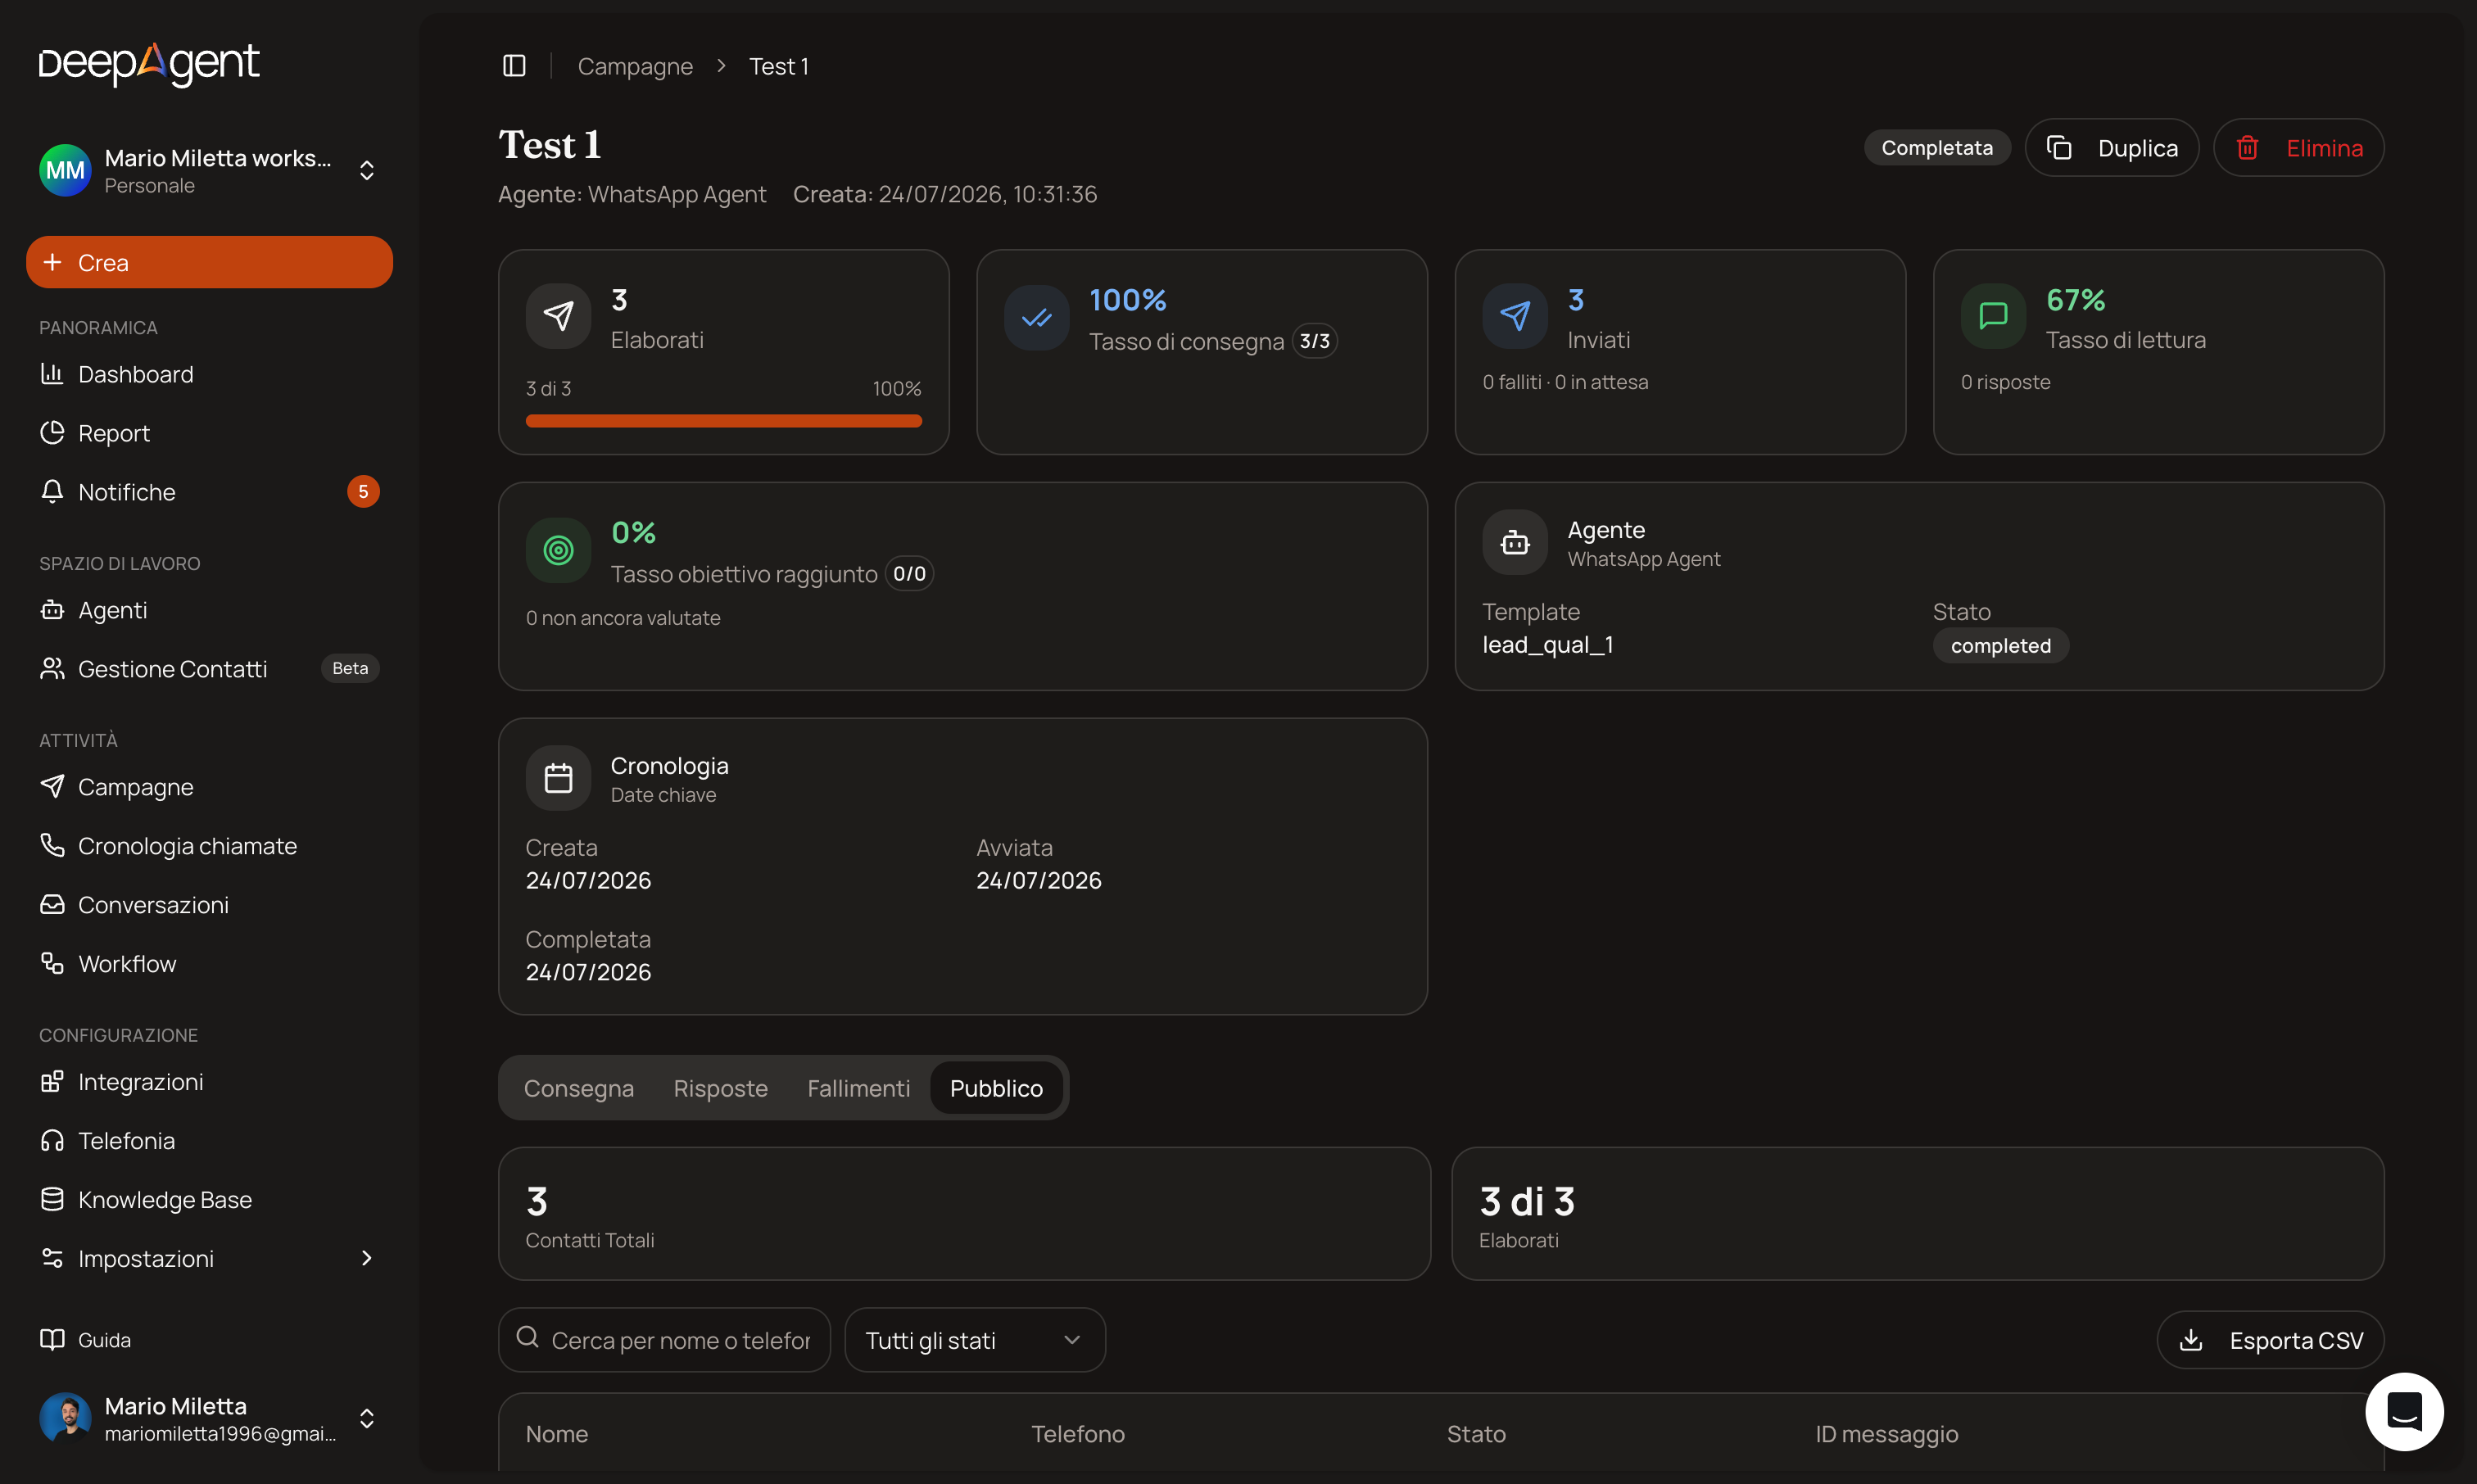
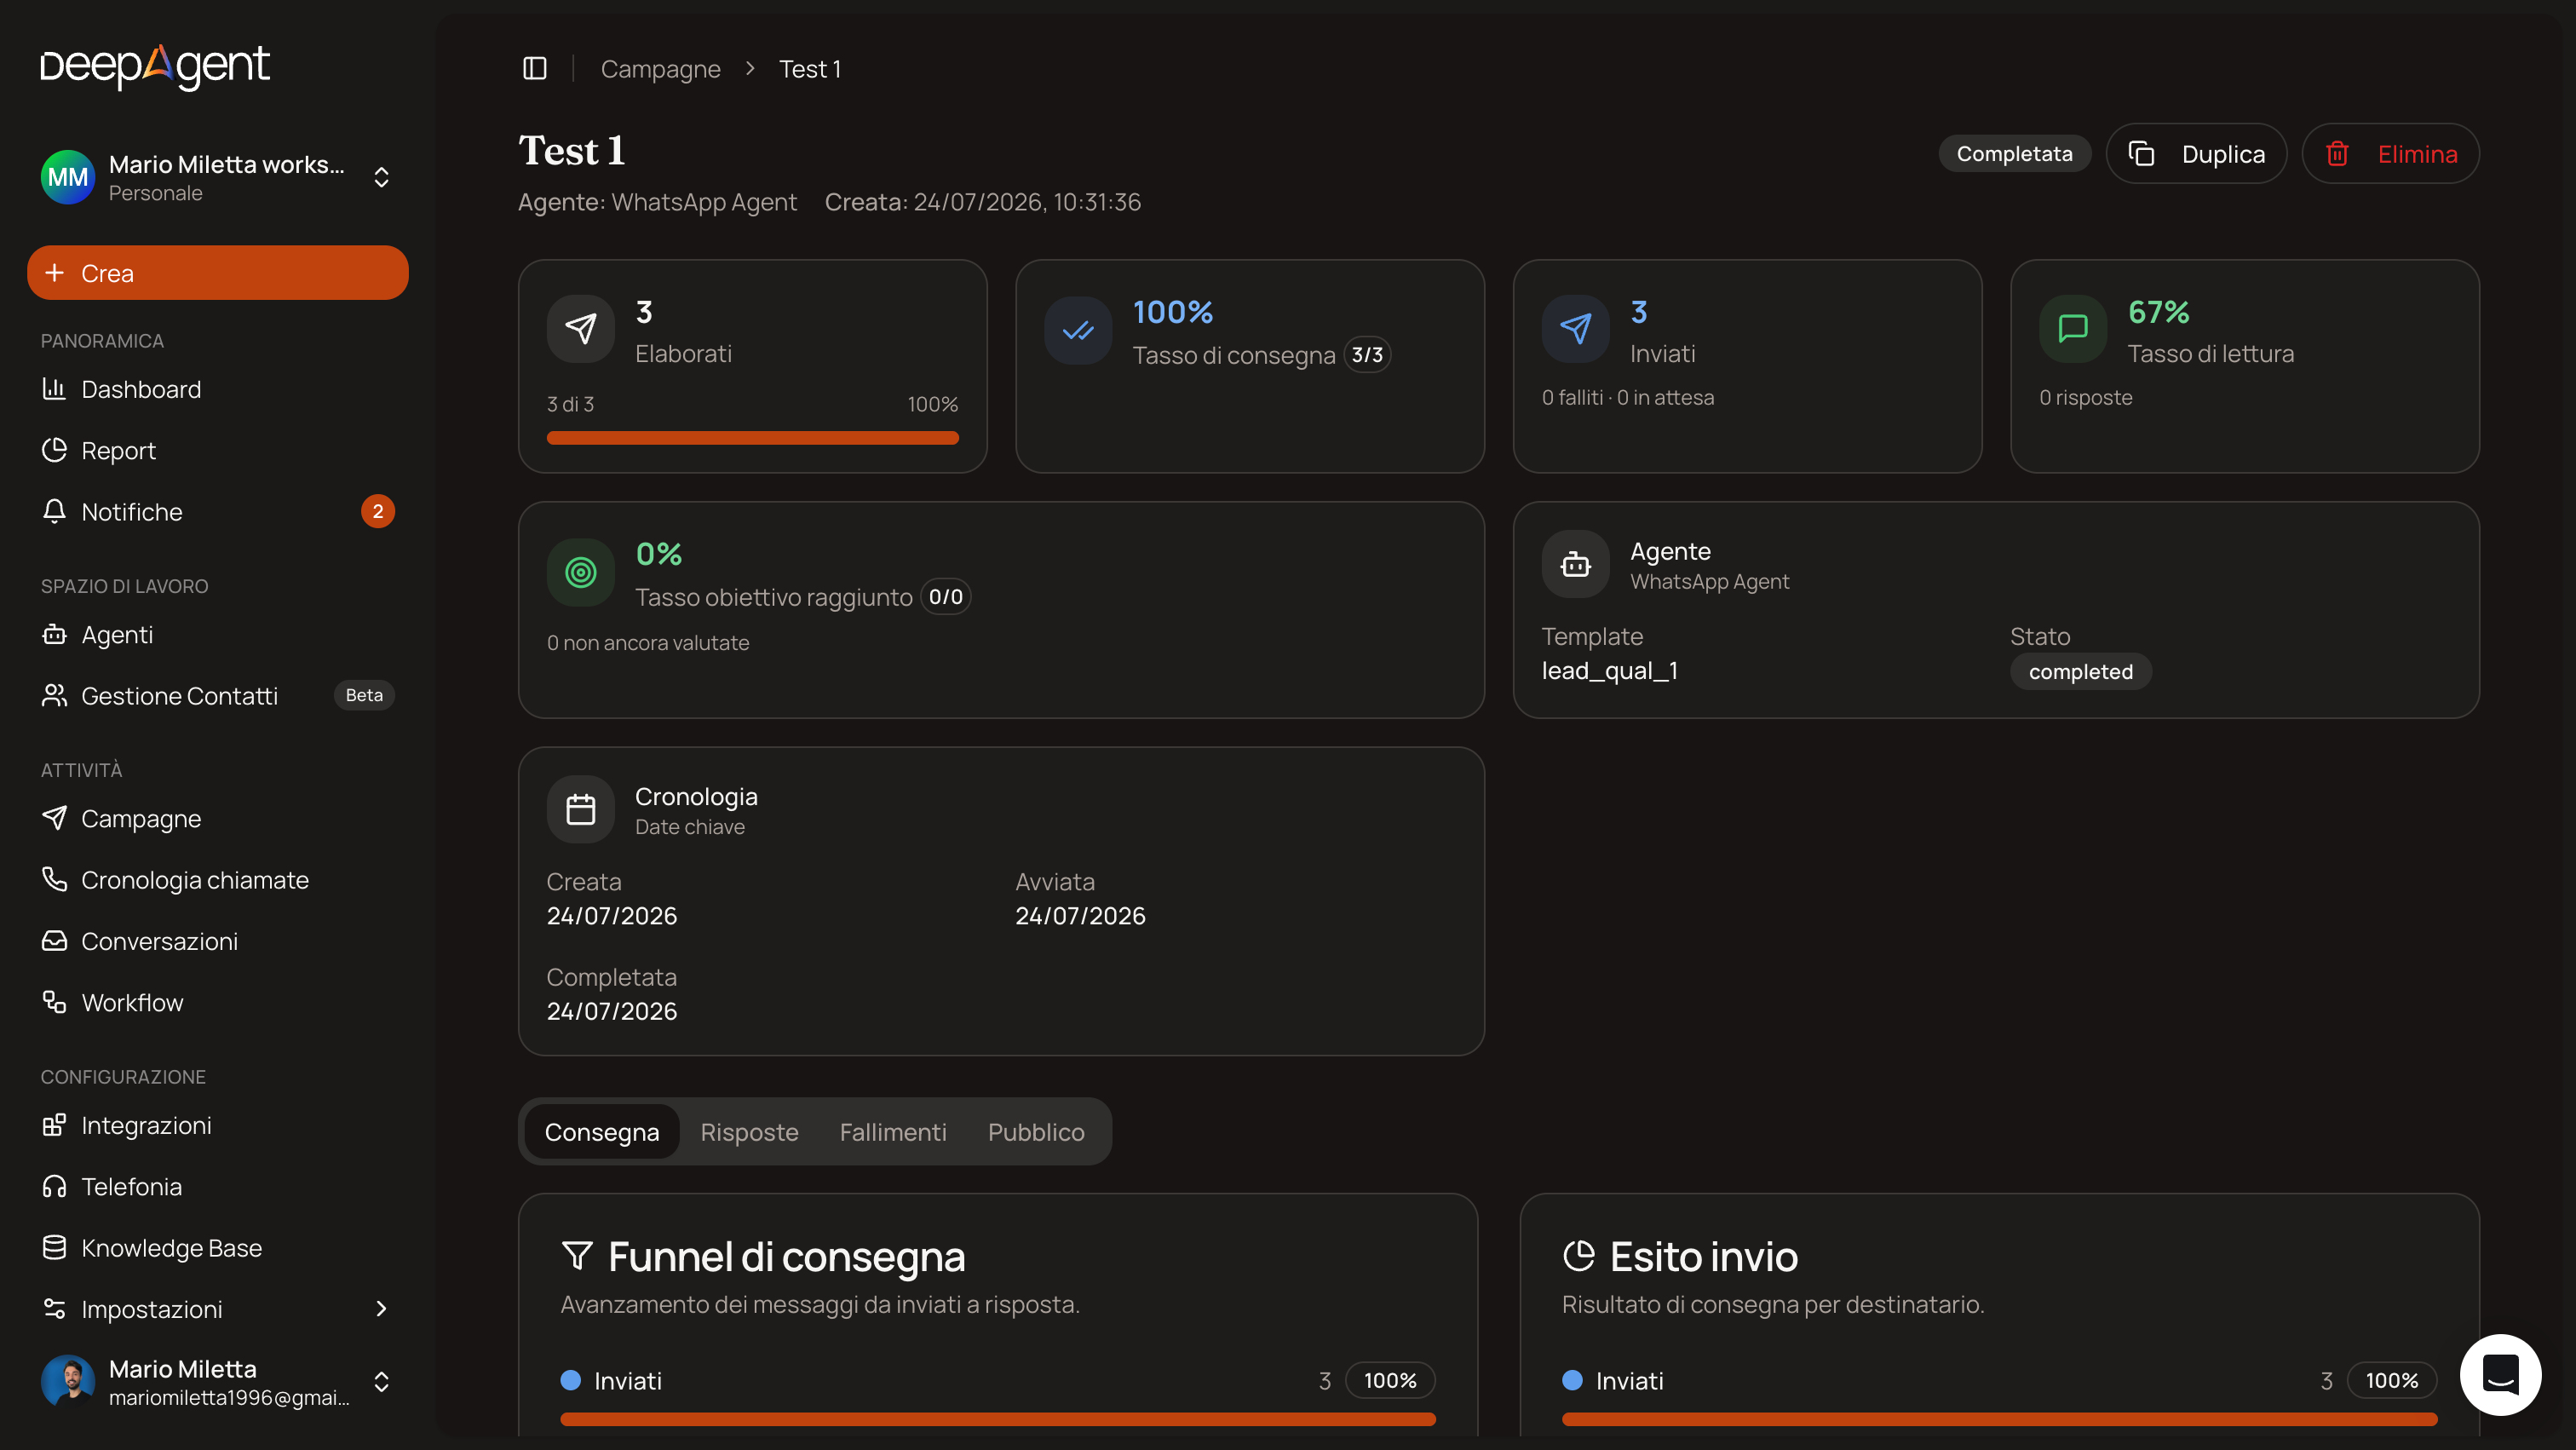
On the campaign page, you’ll find 6 tiles: In Progress (with progress), Delivery Rate, Sent (with failures/pending), Open Rate, Goal Achievement Rate for conversations already evaluated, and an Agent Summary (template used, status). The tabs below: Delivery (funnel + delivery outcome), Replies (who replied, with a table), Failures (only failed recipients), Audience (all campaign contacts, filterable, with “Export CSV”).
Note
There is no actual “opt-in list” enforced by the system: the real restriction is that you can only send templates already approved by Meta. Opt-out tracking occurs after the message is sent (a contact can indicate they no longer wish to receive messages, and you’ll see this counted in the Delivery tab): it’s not a preventive check on the list you upload. The responsibility to upload only contacts who have consented remains yours.
Was this helpful?
Still need help? Share an idea